
Inspiration
 Img via Tumblr
 Img Via Google Images
I'm giving you a different take on these embellishments. Let's go!
Materials:
Shorts
Studs: any size and shapeShorts with back pocket all ready torn half way off (or not. It depends on you!)
Pliers
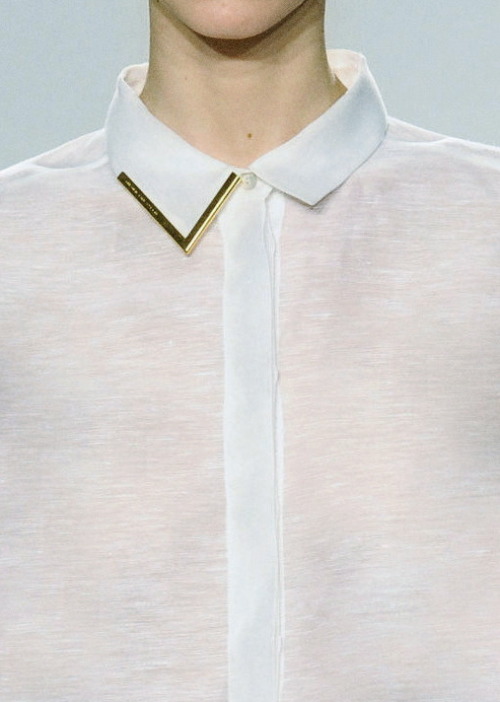
Collar
ChainPliers
Needle and thread
Shirt with collar
Shorts
Grab your shorts and your studs and set them out. Figure out how you want your studs to be. In my case i want mine just to outline the ripped pocket.

Take your pliers and push down the prongs protruding out the back. and there you go!
Since i did an outline i just added them according to where the pockets were, but feel free to add them where ever you want them. :)
Collar

Grab your chain and place the middle link on the tip of the collar. My chain is about 2 to 2 1/2 inches, it all depends on your collar. Sew the middle link to the tip starting from the back and using an over under technique. DO NOT GO AROUND THE TIP! Next tie the ends off when the thread is secure enough. Now take the loose ends and pull them until where they end, on the edge of the collar. Then sew the ends using the same technique as before. Once again DO NOT GO AROUND THE EDGE! Do the same for the last remaining hanging chain. Then you're done with that half of the collar, Just repeat the steps on the other part of the collar (Or just do one! That'll be cool..) and you're all done!

I hope you enjoyed this tutorial. Next post will be on how i styled my Jeffery Campbell Arizonas. See ya next time Chichi's and Chocho's. :)
-Curveless.