Showing posts with label accessories. Show all posts

2.03.2013

Lookbook for Fashion Portfolio

 My school is hosting a fashion show, so I thought "Why not join in as one of the stylist/designers?" In order to audition you have to send in a portfolio with your designs and what you paired together. I didn't want to put my designs on here but I did want to show what I styled. So, here you go! 

 Tee: Forever 21
Leggings : Know Style
Boots: Dots
Bracelet: Hand-Me-Down
Earrings: Beauty Supply Store


Scarf: Gift
White Tank: Macy's
80's Style Pants: Thrift Store
Purple Socks: Kohls
Grey Blazer: H&M
Jesus Ring: Gift
Casio Watch: eBay
Triangle Earrings: Ashley Stewart
Gold Ring: Vera Wang Perfume
Creepers: Urban Outfitters
*Keep looking out for my review on my new creepers!


Earrings: Hand-Made
Collar Shirt: Thrift Store
Belt: Thrift Store
Leather Jacket: Hand-Me-Down
Pleather Pants: Macy's 


Necklace: Icing
Earrings: Wal-Mart
Floral Dress: Macy's
Black Tights: DanceWearSolutions.Com
MK Heels: Dillards


Earrings: Dots
Bracelet: Dots
Ring: Claire's
Pink Sweater: Kohl's
Pleather Skirt: Dots
Same black tights as before.

Well yeah that's about it. Look out for my Creeper review coming very soon!
-Curveless

1.12.2013

DIY Jewelry Stand

So i've really been needing another way to organize my jewelry. I saw this method of making one on YouTube and you all can look at plenty videos on there about it, But i thought since i made it i would just post about the process. So here you go!
Supplies: 
Assortment of Plates (Plastic or Glass)
Wine Glasses (Plastic or Glass)
Bowls (Plastic or Glass)
Beads, Gems, Chains, and decorative stuff for the jewelry stand.
Glue Gun
Spray Paint

1st: Spray paint your Plates, Cups, Bowls to your liking and let them dry.
2nd: Decorate the cups by adding beads and jewels to the inside of the cups that you will be stacking your plates on. 
3rd: Put hot glue on the rim of the cup you added stuff in.

4th: Turn the bottom plate upside down and place the plate on top of the cup. Make sure it's centered. (Sorry I don't have a picture)
5th: Turn the plate with the cup upside down, and there is your first layer!
6th: Now place hot glue on the bottom on the glass.
7th: Place another smaller plate on the bottom of the cup.
8th: Add another cup.
9th: Add either a bowl, or a another plate to top it off, if you want. 
And You're done!! (With the structure at least)
You can add more layers if you want but i didn't want mine to be that big so i just stopped there.
Next up Decorating:
Now i won't go into detail with how i decorated it but i will say add something like a chain so you can stick your earrings in it. 
But yep! That's it! Decorate it however you feel you need to and you're all done! It's all about personalization to be honest.
 Enjoy your new Jewelry stand!

 -Curveless

Which one do you like best? Let us know by commenting!! 

2013 haul.

I just blew all my Birthday/Christmas money y'all, and it went to these clothes. Spending money is so bittersweet but anyways on to the HAUL!
Anorak: $37 (forever 21)
Cross Sweater: $15 (Forever 21)
Faux Leather Pants: $31 (Material Girl in Macy's)

Peplum Lace Dress: $5 (CottonOn.com)
Studded Pencil Skirt: $10 (CottonOn.com)
Wide Brim Hat: $5 (CottonOn.com)
Gold Womens Casio Watch: $23 (eBay.com)
Silver Knuckle Case: $5 (eBay.com)

Floral Zip Dress: $21 (Material Girl at Macy's)
Tee Shirt: $14 (Forever 21)
Printed Leggings: $16 (Know Style)
Silver Collar Necklace: $5 (Forever 21)

Well that's all for the haul. Eventually I will style these items. I can't say when but look out for these in upcoming post. Anyways have a good day/night chichi's and chocho's. 
-Curveless

4.05.2012

DIY: Turn a broken earring into a ring.

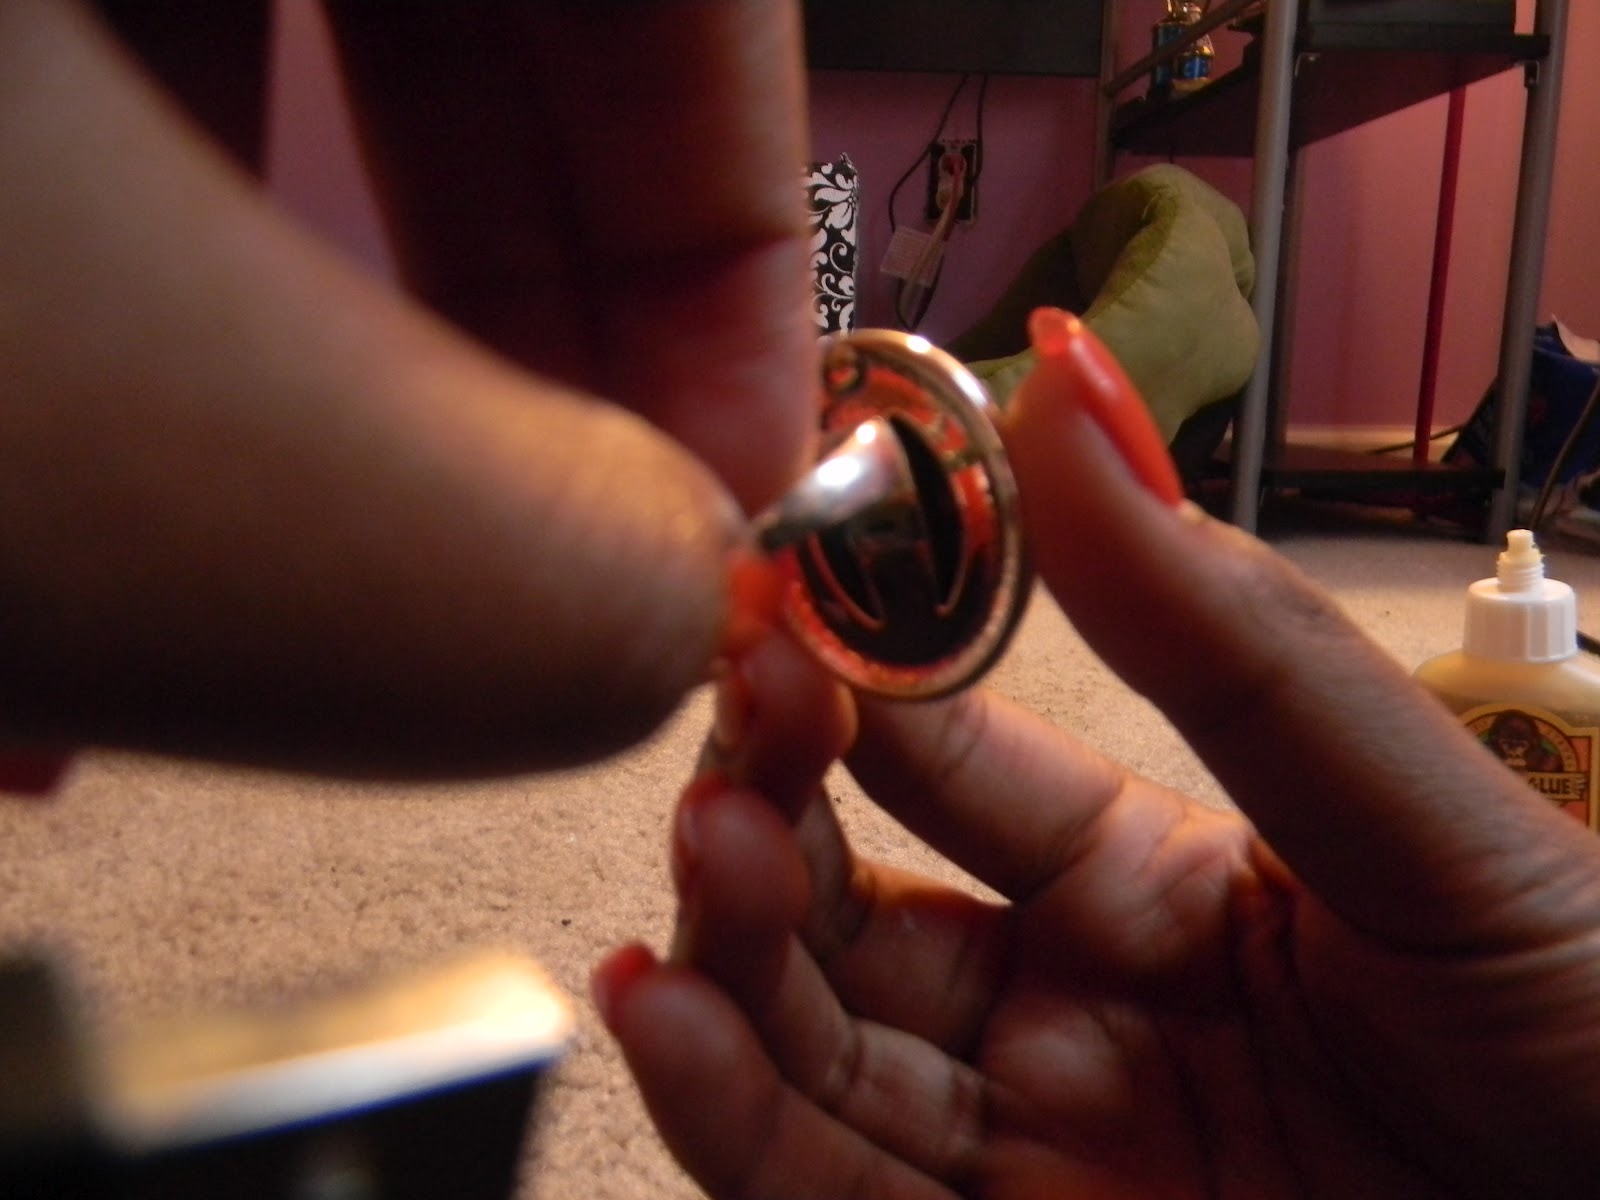
So i have a bunch of earrings that have broken and i didn't know what to do with them. So i thought, hey lets turn them into something different. This is how i turned my broken earring into a ring.
This is what you'll need:
-Your broken earring (This one is a clip on earring the clip just broke off)
-A ring back (This one came from a broken ring where the back broke off from the ornament on the ring but you can buy the backs of rings in bulk on Ebay)
-And super glue (Here i'm using gorilla glue and the way you apply this glue is a little different from your average super glue)


1. Since were using gorilla glue you have to apply it a different way in order to get your ring to stay. So first take a damp cloth and wipe down the ring were your going to be applying the glue.

2. Apply the glue to the part of the ring where you're going to be placing the earring.


3. Then attach the two pieces. It should take an hour to dry and when its dry it'll be nice a secure.